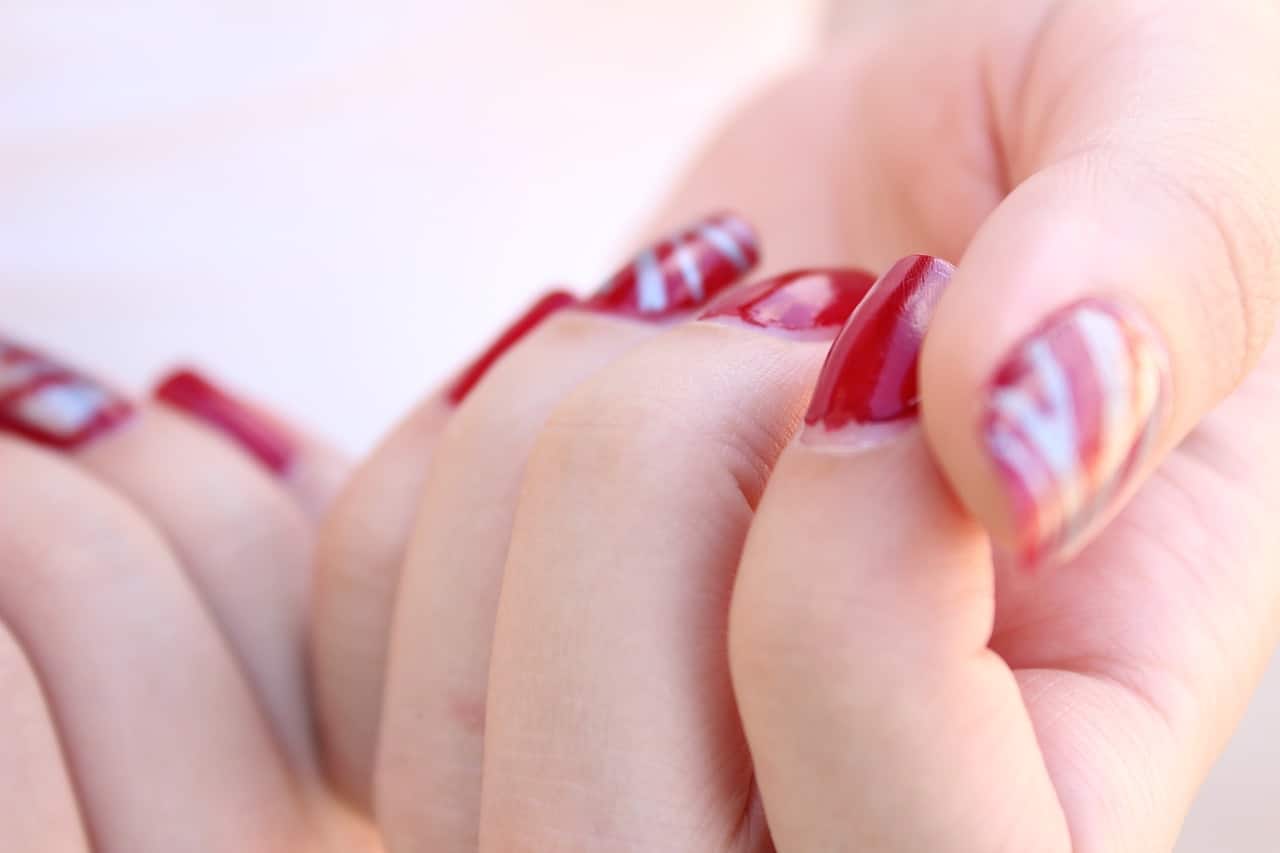
The French manicure is unquestionably a classic option when considering nail designs that never go out of style. Most people typically go to a salon for that classy white tip, but why not think about improving your French tip nails at home?
Contrary to popular belief, learning to perform a French manicure at home is more accessible than expected. You can attain that desired salon-style finish in your home with enough experience and attention to detail. Below are the most significant steps to help achieve effortless French tip nails in the comfort of your home.
1. Cleaning And Shaping Your Nails
More than just painting a white line is needed to complete a classic French manicure; the nails must also be cleaned and properly prepared. Wash your hands first, then use an acetone-free nail polish remover to gently remove any previous nail polish. Use an orange wood stick with a cotton-covered tip dipped in nail polish remover to neaten the edges if necessary.
Although all nail kinds, shapes, and lengths can be accommodated by French manicures, short, square, and mid-length almond nails make the best French tip nails. Maintaining unbroken edges is crucial because this guarantees the line’s symmetry.
Careful attention to detail and choosing the most attractive nail shape are essential to achieve a classic French manicure’s glossy and balanced appearance.
2. Prepping And Buffing The Nail Plate
Lightly buffing your nails might make your nail paint last longer. Gently rubbing a high-grit buffer in the surrounding area of the cuticle can help. There is a myth that buffing is bad for nails because it eliminates layers, but this is only true when done incorrectly (low grit) and excessively (over buffing).
Ensure to soak your cuticles in oil and gently push them back before continuing. Apply a nourishing hand cream after using a body scrub to exfoliate your hands. Remember to apply alcohol or nail polish remover on the nail plate to dry it before applying the base coat. Removing any remaining hand cream on the nails ensures a clean surface for the subsequent phases of your manicure.
3. Applying The Base Coat
Let’s now get into how to paint your nails. You’ll need two nail paint colors for a French manicure: one for the nail bed and one for the tip.
While you can experiment with different looks, we’ll use the time-tested classic. The base coat improves adhesion and protects the nails from discoloration or yellowing.
4. Use Tape
Nail tape might be helpful if you’re unsure of your accuracy or need to improve your DIY manicure skills. When your base coat is fully dry, firmly push the tape to where you want the tip to finish.
Your personal preference and the shape of your nails will determine whether you choose a straight or curved white strip. Allowing the paint to follow the natural curve of your nails can be very useful if you want to lengthen your nails
visually.
You may completely customize your French manicure and create the desired appearance at this stage.
5. Painting The Nail Tip
Apply your preferred white nail polish to the exposed portion of your nail. Consider using a polar white shade for a precise line and complete coverage in a single layer.
6. Rounding Out The Tip Line
If you want to create a crescent-shaped manicure instead of a straight one, use a cotton swab or a small nail art brush to carefully apply white nail color to the corners of the nail.
7. Topping The Manicure
This stage may seem less important, but it is guaranteed to give your French nails a noticeably more natural appearance. Choosing a sheer pink color helps to hide any nail flaws or stains.
8. Use A Top Coat
Your next step is to ensure your DIY art will last after cleaning off any stray polish with a Q-tip dipped in nail polish remover. Apply a thin, glossy top lacquer coat to seal and set your at-home French manicure.
9. The Results
As with any manicure, proceed with caution before doing anything. The amount of time it takes for your nails to completely dry will depend on the paint and top coat formula you use.